Before viewing
Note that the images supplied are in the gamma=1.0 colourspace. Please adjust your viewing environment if necessary, or save the files and gamma correct them to suit your own monitor using image-editing software.
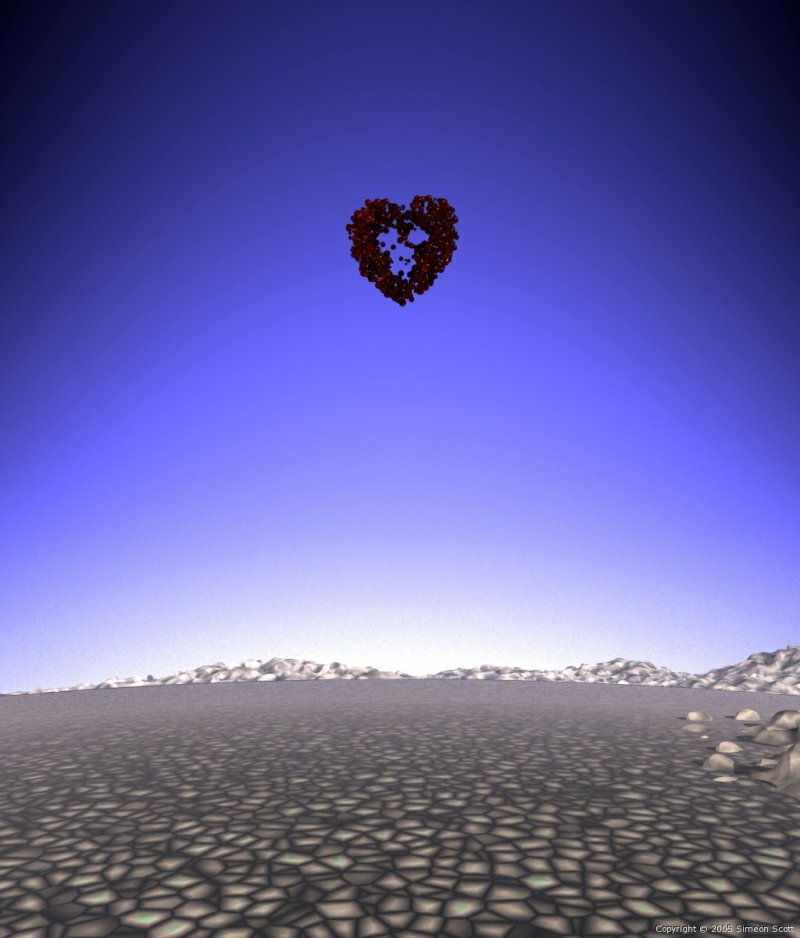
The heart-blob object should appear quite red, NOT mostly black, and the landscape SHOULD appear slightly washed out, simulating atmospheric haze.
Notes regarding how it was made
The heart-shaped 'blob' object is created using a macro to fill a heart-shaped mathematical 'isosurface' function with around 700 small 'blob' objects, who's fields interact to produce an effect something like fluid floating or falling.
The fluid/vitreous effect of the heart uses PoVRay's 'photons' to simulate refraction and reflection. Simpler methods were inadequate for the desired effect.
The landscape uses three layers of spheres, the hills being a spherical 'isosurface' function deformed and scaled to fit.
Some atmospheric haze is provided using PoVRay's 'media' in the interior of a spherical shell surrounding the surface of the landscape.
To generate the heart shaped blob object, I have adapted a macro which I wrote for another purpose: filling a space with tons of bubbles and without intersecting.
Here most of that effort may not be needed, since blobs automatically
take care of what happens at intersection. But since I have that
procedure already, it's more efficient just to adapt it, than to
rewrite it.
I borrowed the idea from FillCylinder by Friedemann Schmidt webmaster@friedemann-schmidt.de, although my version is completely rewritten.
An 'include' file is generated listing the positions of blobs. This
means subsequent renders can be done a bit faster, and you can
hand-tune the locations of individual bloblets.
Textures are defined in the main file, rather than the generated include file. This means I only need to keep track of a single source file, the include file can be reliably generated from scratch as needed.


